
How To Bleed Chevrolet Colorado Brakes: An Easy Step-By-Step Guide
Maintaining your Chevrolet Colorado’s brake system is crucial for safety and optimal performance. This comprehensive guide will walk you through the process of bleeding your Colorado’s brakes, helping you ensure your vehicle’s braking system operates at its best.
Brake Maintenance: Why Bleeding Your Chevrolet Colorado’s Brakes Matters
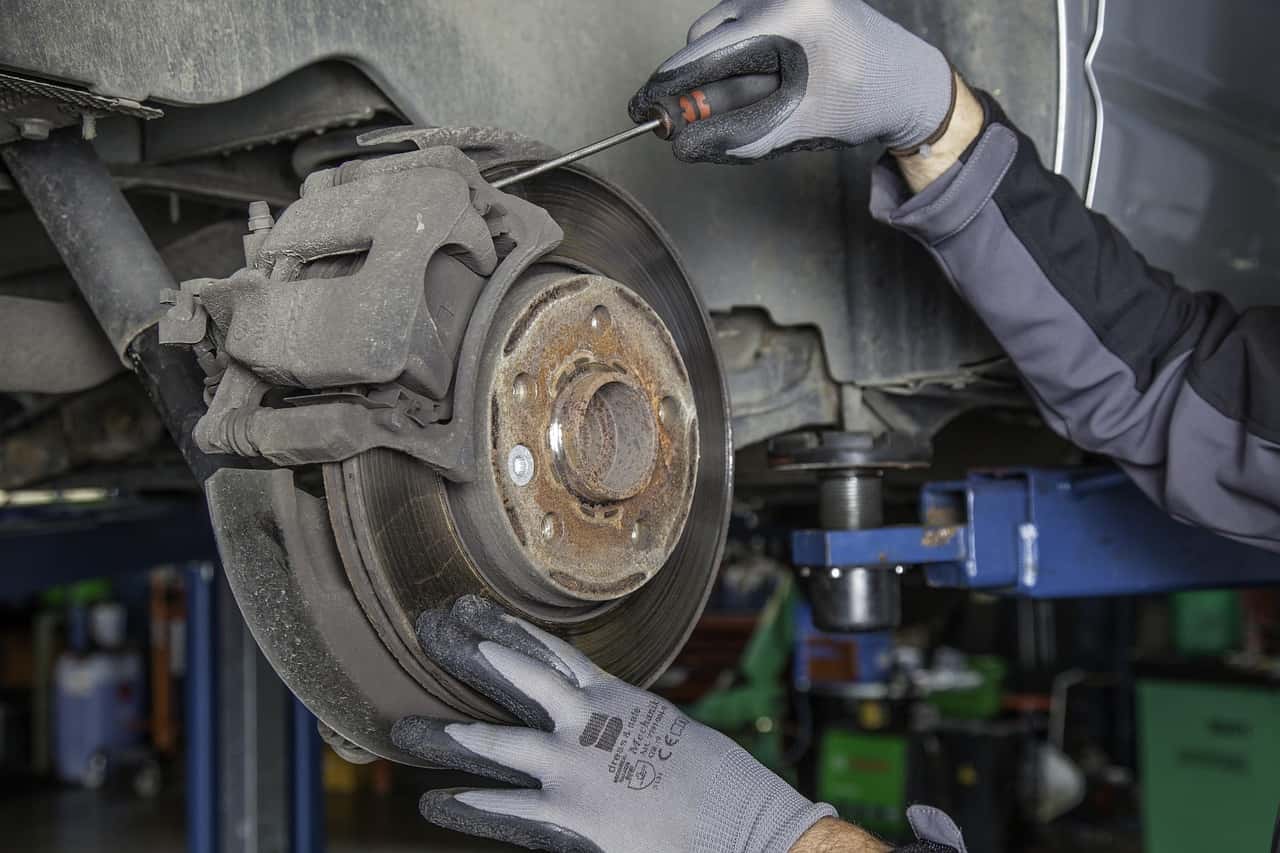
Image by geraldoswald62 is licensed with Pixabay License
Your Colorado’s brake system consists of several key components working together to provide reliable stopping power. When you press the brake pedal, the master cylinder generates hydraulic pressure, which is transmitted through brake lines to the calipers at each wheel. This hydraulic pressure causes the calipers to squeeze the brake pads against the rotors, creating the friction needed to slow or stop your vehicle.
Brake fluid can absorb moisture from the air over time. This moisture contamination can significantly impact your Colorado’s braking performance. When brake fluid absorbs water, its boiling point decreases, increasing the risk of vapor lock during braking. Contaminated brake fluid can also cause internal corrosion of brake components, reducing braking efficiency and potential brake failure. Regular maintenance, including bleeding your brakes every five years, helps prevent these issues and ensures optimal brake performance.
A Guide To Bleeding Your Chevrolet Colorado’s Brakes
Before starting the brake bleeding process on your Colorado, gather these essential tools:
- New DOT 3 or DOT 4 brake fluid
- A wrench set
- Clear plastic tubing
- A clean catch container
- A jack and jack stands
- Wheel chocks
Optional but helpful tools include:
- A pressure or vacuum bleeder
- A brake bleeding kit
- A willing helper, as an extra pair of hands is useful
Preparing Your Vehicle for the Brake Bleeding Process
Start by parking your Colorado on a level surface and engaging the parking brake. Loosen the lug nuts on each wheel slightly before jacking up the vehicle. Place the vehicle securely on jack stands and remove the wheels. Then, locate the brake bleeder screws on each caliper and clean the surrounding area thoroughly to prevent contamination. Before proceeding, check the brake fluid level in the master cylinder and top it off if necessary. Ensure proper ventilation in your work area, as the engine will run during the bleeding process.
Safety Precautions
Safety is paramount when bleeding your Colorado’s brakes. Here are a few key precautions:
- Always wear safety glasses and gloves to protect against brake fluid splashes.
- Ensure the vehicle is properly supported on jack stands and use wheel chocks to prevent movement.
- Work in a well-ventilated area to avoid harmful fumes.
- Keep a fire extinguisher nearby for safety and have clean water available to wash off any brake fluid that contacts your skin.
- Set the parking brake firmly before beginning work.
Locating the Brake Bleeder Valve
On the Colorado, bleeder valves are located on each brake caliper. These small valves typically have a metal cap and are positioned on the highest point of the caliper. Clean each valve thoroughly before beginning the bleeding process. If you’re unsure about the exact location, consult your owner’s manual for specific guidance.
How To Bleed Brakes: A Step-By-Step Process
Follow these detailed steps to effectively bleed the brakes on your Colorado.
Step 1: Removing Old Brake Fluid From the Master Cylinder
Begin by removing as much old brake fluid as possible from the master cylinder reservoir. Use a clean turkey baster or syringe to extract the old fluid. Take care not to let any debris fall into the reservoir to avoid contaminating the new fluid, and clean the reservoir with a lint-free cloth before proceeding. Make sure to properly dispose of the old fluid, as it’s considered hazardous waste.
Step 2: Adding New Brake Fluid to the Master Cylinder
Next, fill the master cylinder reservoir with fresh brake fluid to the Full line. Make sure only to use the type of brake fluid specified for your Colorado, typically DOT 3 or DOT 4. Pour the fluid slowly to avoid creating air bubbles, and keep the reservoir cap nearby but don’t replace it yet. You’ll need to monitor and maintain the fluid level throughout the bleeding process.
Step 3: Begin Bleeding Your Brakes
Start bleeding the brakes with the wheel furthest from the master cylinder — usually the passenger-side rear wheel. This ensures that air is removed from the longest brake line first. Attach the clear tubing to the bleeder valve and place the other end in the catch container. This setup allows you to monitor the fluid flow and watch for air bubbles.
Then, follow these steps for each wheel:
- Have your assistant slowly pump the brake pedal three or four times and then hold it down.
- Open the bleeder valve about a quarter turn.
- Allow the fluid to flow until it stops.
- Close the bleeder valve securely.
- Have your assistant release the brake pedal.
- Check the master cylinder fluid level and refill as needed.
Repeat this process for each wheel in the following order: passenger-side rear, driver-side rear, passenger-side front, and driver-side front. Continue the procedure until you see clean fluid flowing without air bubbles.
Troubleshooting Common Issues During Brake Bleeding
Common issues when bleeding your Colorado’s brakes include persistent air bubbles, a spongy-feeling brake pedal, or difficulty opening the bleeder valves. If air bubbles persist, double-check all connections and ensure the master cylinder reservoir doesn’t run dry. For a spongy pedal, repeat the bleeding process and verify that all the bleeder valves are properly closed. If your bleeder valves are stuck, try oiling them and allow the oil to soak in before loosening them.
Tips for Ensuring a Successful Brake Bleeding Process
Follow the below tips to maximize your chances of brake-bleeding success.
Maintain Cleanliness Throughout the Process
To avoid contamination, keep your work area and all tools clean throughout the process, and use only clean containers for both fresh brake fluid and old fluid. Clean around bleeder valves before opening them, and avoid touching brake components with your bare hands. Use only lint-free cloths for cleaning, and mop up any spills immediately.
Ensure Proper Fluid Levels at All Times
Monitor the fluid level of the master cylinder constantly during the bleeding process. Never let it run dry, as this will introduce air into the system and require you to start over. Add fresh brake fluid as needed to maintain the proper level, but avoid overfilling to prevent brake system issues.
Test Brakes Before Use
After bleeding, perform a thorough inspection and testing process. Check all the bleeder valves for leaks, and verify the feel of the brake pedal — it should be firm, not spongy. Test the brakes at low speeds in a safe area, ensuring that your Colorado brakes evenly with no pulling to either side, and listen for any unusual noises when braking. If you notice any issues during testing, address them before returning your vehicle to regular use.
Get Expert Brake Maintenance for Your Colorado at #1 Cochran Chevrolet
Regular brake maintenance, including proper brake bleeding, is essential for your Colorado’s safety and performance. Following the advice in this guide will help ensure your brake system functions optimally, providing reliable stopping power when you need it most. Remember to stay proactive with brake maintenance, and don’t hesitate to seek professional help when needed. For expert service and maintenance, visit us at #1 Cochran Chevrolet in Youngstown, Ohio, where our certified technicians are specialists in keeping your Colorado’s brakes in peak condition.
0 comment(s) so far on How To Bleed Chevrolet Colorado Brakes: An Easy Step-By-Step Guide